Is your couscous Israeli? (Are you sure?)
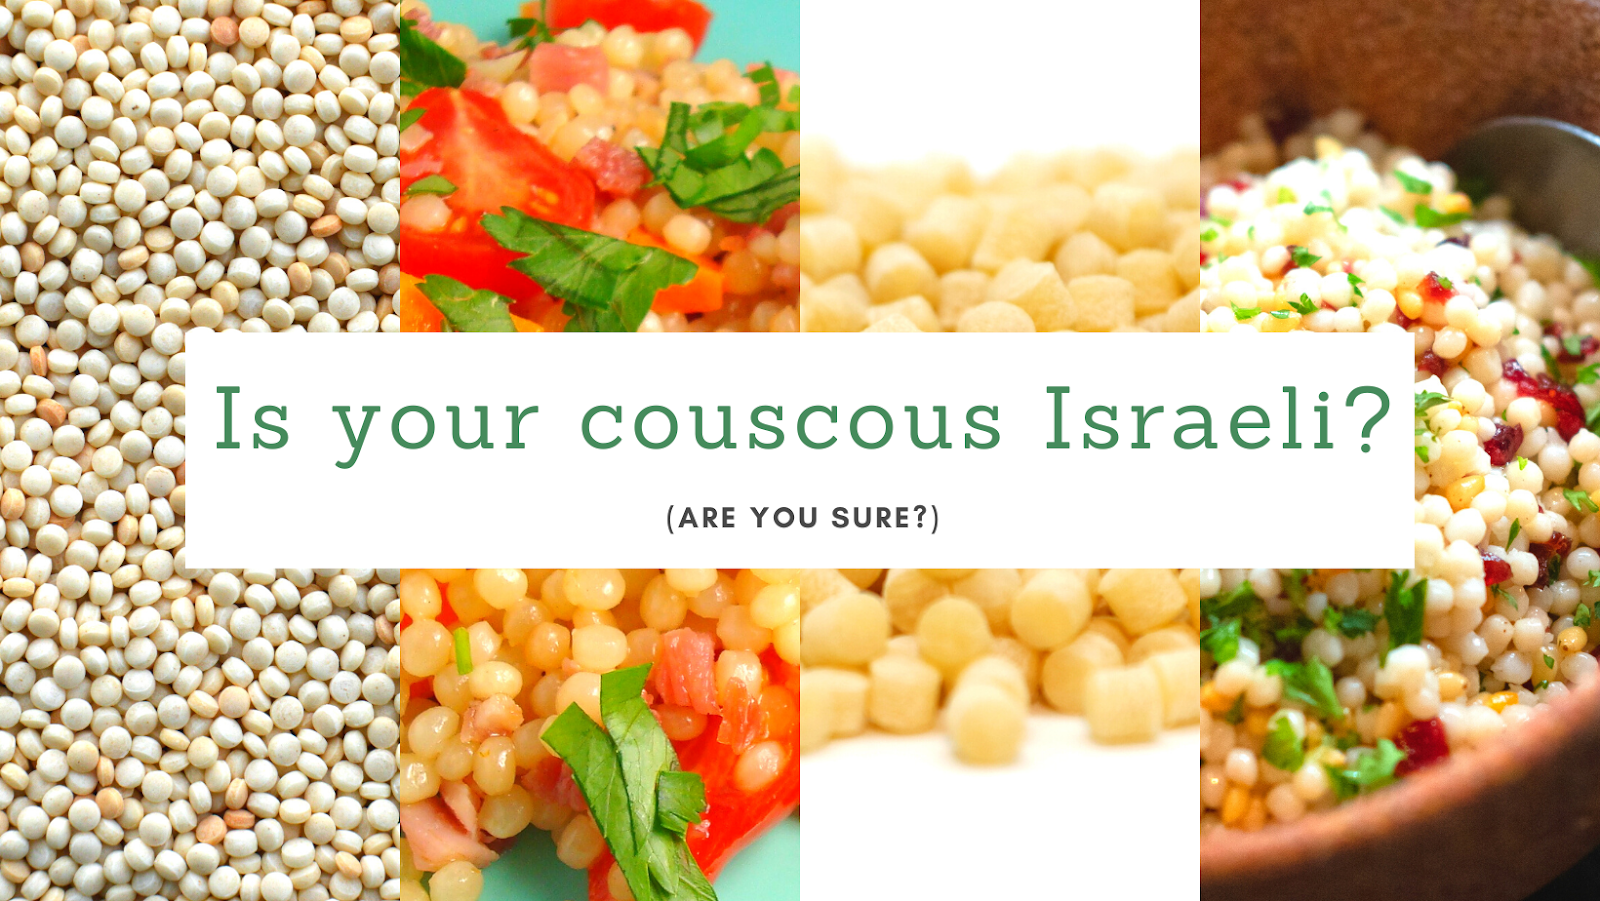
Last week, I happened to spot this item in our Israeli kids’ magazine. Don’t worry, I’ll translate it down below. Wallah? Amazing fact of the week In all kinds of places all over the world, they sell a food called “Israeli couscous,” which actually has no connection with couscous. It’s actually just פתיתים / petitim, which are indeed an Israeli invention from the 1950s. And we say to the world: Wait ‘till you discover the amazing thing we call Bissli Grill (BBQ flavour)! Of course, it’s not quite true that there’s NO connection with couscous. Both couscous and Israeli couscous (petitim, which just means “flakes”) are made from semolina flour and water. It’s just a matter of what you do with it from that point. The production process for “real” couscous involves adding water to the semolina flour, rolling it around (traditionally with your fingers, but these days, by machine), then run it through a sieve to get pieces of the right size. It ends up looki